Appliqué a Name on a Quilt: a Step-by-Step Guide

Looking for a way to make your baby quilt extra special? Adding an appliqué name is one of the sweetest ways to personalize a gift that will be treasured for years to come. Whether it’s for a baby shower, a nursery keepsake, or your own little one, a name stitched in soft fabric makes any quilt feel custom-made with love.
If you’ve never done appliqué before—don’t worry! This step-by-step guide will walk you through the process, from choosing the right font to finishing the edges beautifully.
Supplies You’ll Need
Your finished quilt top (or block where the name will go)
Fabric for the name
Fusible web (Steam-A-Seam, HeatnBond, or Wonder Under)
Light box (if you don’t have one, a well lit window works)
Scissors
Iron
Sewing Machine
Printed template of the name
Pencil
Step-by-step guide
Step 1: Make Template of the name
First things first, measure how big the area is you want the appliqué name to go. I then create a custom size canvas in Canva to match the size I want the name to be. (Canva offers a free plan you can use to create your design). Pick a bold, simple font that’s easy to cut and stitch. For my project I chose the font Kawthar. This font has a couple details I won’t add, but it is clear and easy to read, cursive which will help with letter spacing and placement later, and it has bold lines. Once you have the font picked out and expanded to fit the canvas size download and print it.


Printing can sometime be tricky if the size of the name is bigger than a piece of paper. If this is the case you may have to do a bit of research to figure out how to print to multiple pages depending on your operating system and the application you are using. I have Windows and use Affinity Designer 2 to print my designs. In my print settings I go to layout, click on the drop down menu under Model then choose “tiling”. This feature can also be called “poster” or “Multi-page”. Once you have the name printed, tape the pages together to create one template.


Step 2: Trace the Name onto Fusible Web
Using a lite box and pencil or by holding your template and fusible web up to a well lit window trace the name onto the paper side of the fusible web. Trace the letters backwards. More times than I would like to admit I have forgotten to trace the letters backwards and had to redo this step.


Step 3: Fuse to Appliqué Fabric
I am using Lite Steam-A-Seam 2 as my fusible web. Make sure to read the directions on your fusible web of choice. If using the Lite Steam-A-Seam 2 Peel off the back paper layer and press it with your hands to the wrong side of the fabric you picked out for the name. If you are using a different fusible web you may need to iron it on the the fabric.
Step 4: Cut out the Letters
Carefully cut out the letters on the traced line. To cut out the internal letter shapes fold the letter and make a small snip inside the area that needs cut out. From there you can cut the inside shape out.


Step 5: Arrange the Name on the Quilt
Peel off the remaining paper backing and position the letters where you want them. Some cute placement ideas are in the bottom corner, across the center, or curved around an element on the quilt top. Use a ruler or chalk line to keep the letters straight and evenly spaced. Step back and double check that you are happy with the placement.
Step 6: Fuse to the Quilt Top or Block
Once you’re happy with the layout use a hot iron to fuse the letters in place.
Step 7: Stitch Around the Edges
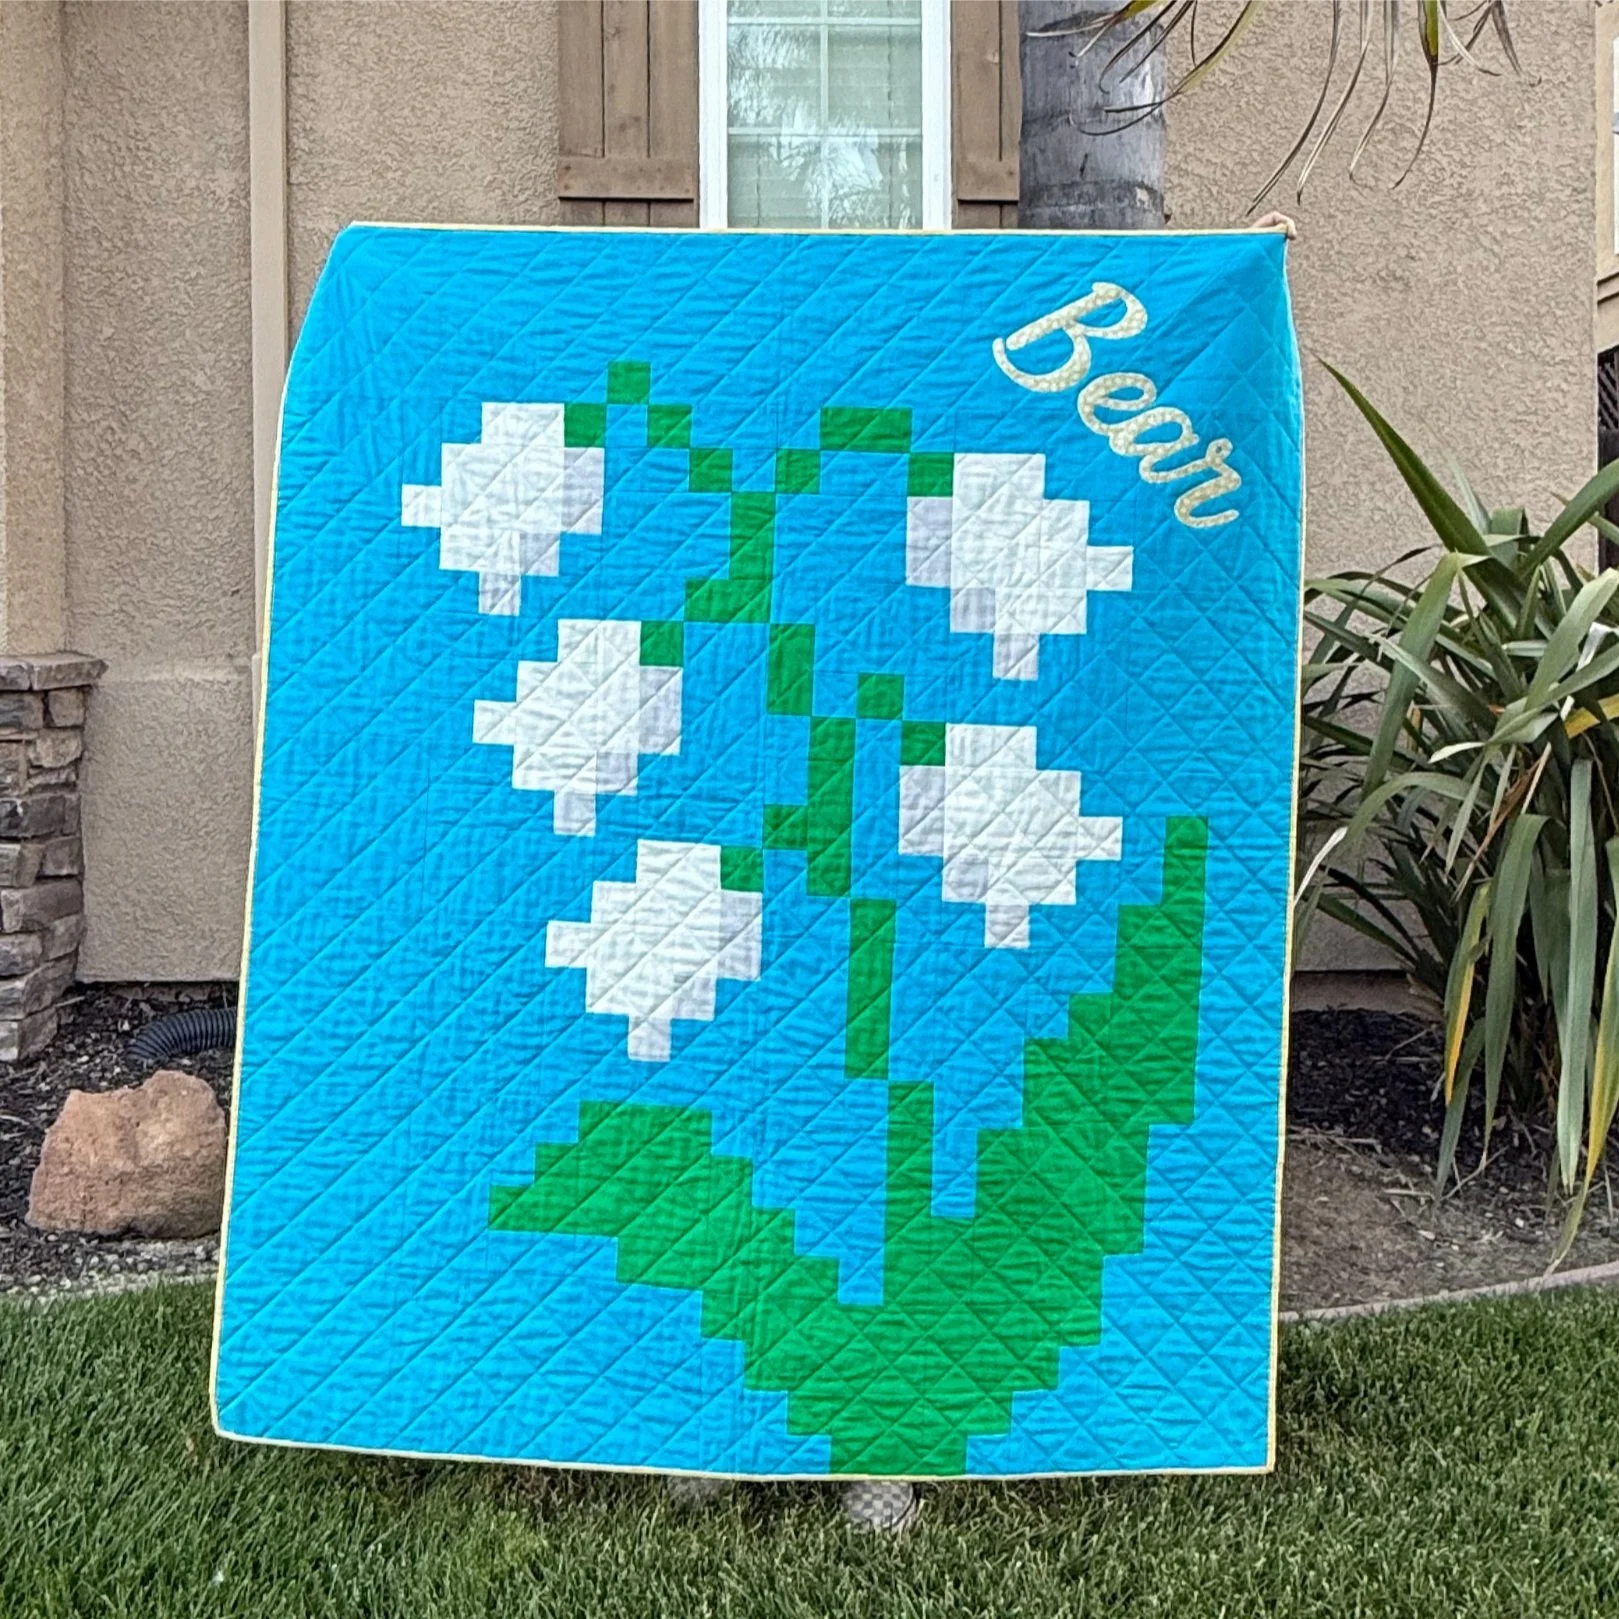
On this quilt I added the appliqué after the quilt was finished. Typically appliqué should be added to the quilt top before finishing the quilt.
Sew around each letter to secure it. Popular stitches for appliqué include a zigzag, satin, or blanket stitch. Here I used the blanket stitch. When sewing around the curves make sure to take your time. Stop regularly to lift the presser foot and adjust the fabric so the stitches stay on the edge of the letters.
Finishing Touches
Once your appliqué is sewn in place you can continue with your usual quilt sandwich, quilting, and binding. A nice way to emphasis the appliqué is to echo quilt around it. In addition to an appliquéd name consider adding a birthdate for that extra personalized touch.
Have you made a quilt with an appliquéd name? Tag me on Instagram or drop a comment— I’d love to see your adorable creations!
Jenn